
Remote Deployment
Remote Deployment using HyperServer Control Panel
Remote Deployment using special "deploy" folder
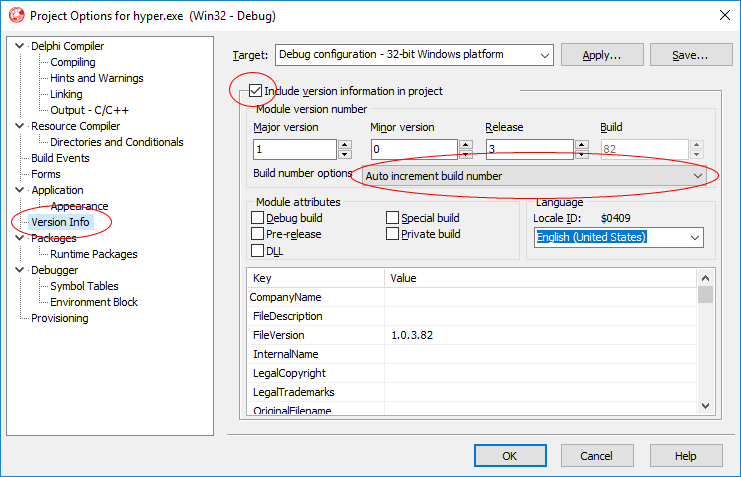
Ability to update application remotely without interrupting the application server is one of the important features of HyperServer. This feature enables developers to update their web application in a transparent way without a need to stop the application server. All they need to do is upload the new version from HyperServer control panel or send a new binary remotely using FTP or other file transfer methods.
Remote Deployment can be done in two different ways:
Remote Deployment using HyperServer Control Panel
Remote Deployment using special "deploy" folder
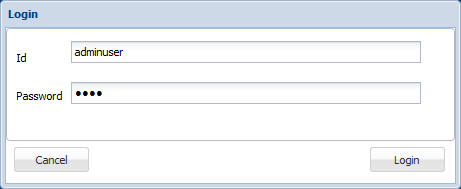
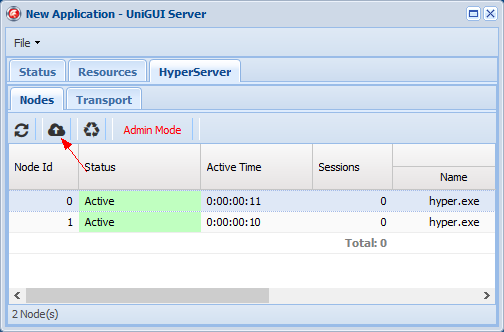
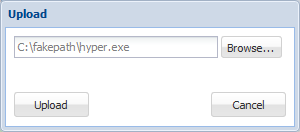
In order to update the application using HyperServer Control Panel follow these steps:
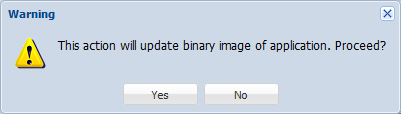
After you acknowledge the update operation, all existing Nodes will be marked as Discarded.
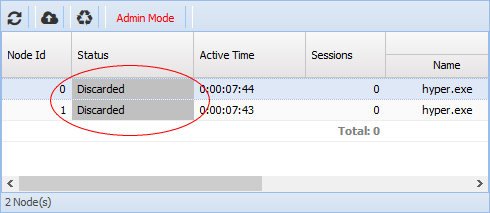
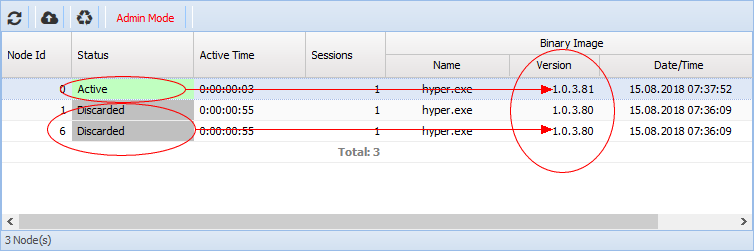
Discarded Nodes will not accept new sessions. All new sessions will be directed to new Active Nodes. You can run different versions side by side: older versions continue serving existing sessions while new sessions are directed to nodes running the new version. As soon as all older-version sessions log out, Discarded Nodes will be purged and only Active Nodes running the new version will remain.
Important: If you are using ISAPI DLL version of HyperServer make sure you have adjusted the IIS upload file size limit: https://unigui.com/doc/online_help/adjusting-upload-limit.htm
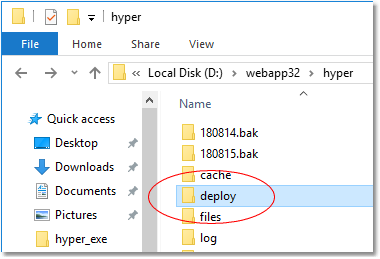
Another method to update your application remotely is using a special folder named deploy. This folder is automatically created when HyperServer runs for the first time. It is located under your application folder.
To deploy your new version follow this procedure:
HyperServer continuously monitors the deploy folder and as soon as it detects a file with extension .dep it will start deploying the new binary. The .dep file will be erased upon completion of deployment.