Trial Edition (C++ Builder)

Installation instructions for uniGUI (C++ Builder)

1

Download and run the installer

Please download the latest uniGUI Trial Setup from the uniGUI website.

Run the downloaded file named FMSoft_uniGUI_Complete_Professional_{version}_Trial.exe

clip0175
2

Accept license and continue

Accept the license agreement and press Next.

clip0026
3

Select installation folder

Select an installation folder. Default installation folder is: [ProgramFiles]\Fmsoft\Framework\.

clip0030
4

Select Delphi versions

Select the Delphi version(s) for which you want to install uniGUI. You must be sure that Delphi is not running while the installation is in progress. The current version of the installer will not warn you about this.

clip0029
5

Start installation

Press Install to start, and complete the installation process.

clip0031
clip0176
clip0177
6

Open RAD Studio and project group

Start RAD Studio IDE and open the project group for your Delphi version. Example: uniGUI_D10_3_Rio_PlusGroup (Delphi 10.3 Rio).

clip0032
7

Configure packages for C++ Builder and build

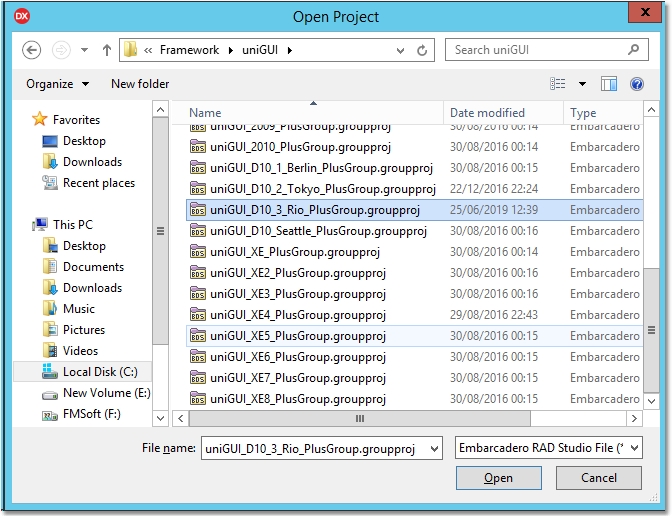
In the project group there are several Delphi packages. Before building these packages we need to make a small change to package configuration.

Note: Starting with uniGUI version 1.90.0.1537 all packages are modified so they will generate all C++ related files by default. If you are installing version 1.90.0.1537 or later then you can skip this package-configuration step.

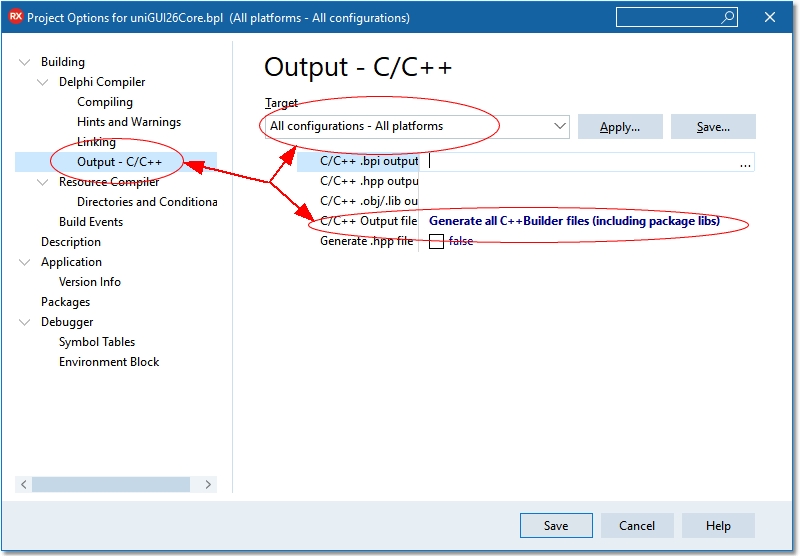
Before building packages, for all uniGUI packages go to Options -> Linker and select/set Generate all C++Builder Files as shown below.

(If your Delphi version supports more than one platform make sure to set the Target to All configurations - All platforms.)

Additional step for C++ Builder installation only.

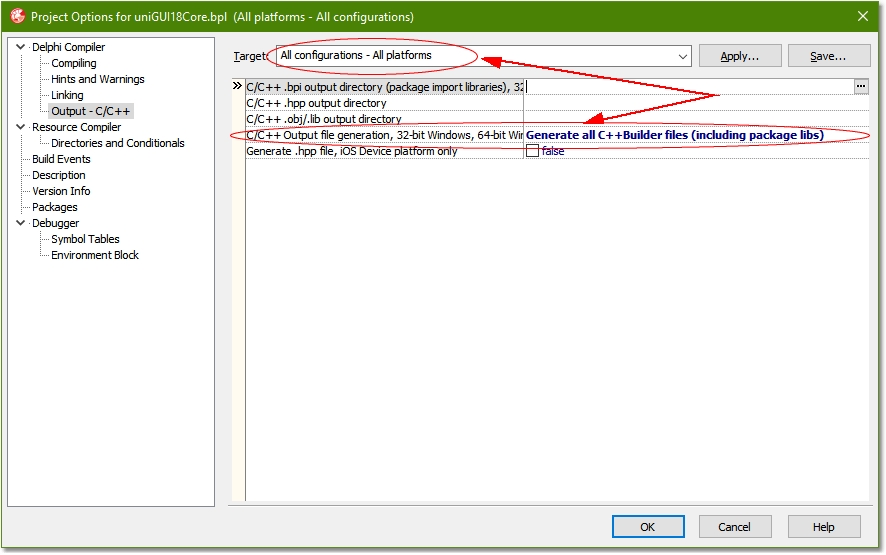
The configuration screen may change between different Delphi versions. For example, the above picture is from Delphi XE4 while the picture below is from Delphi 10.3.2.

Confiuration for Delphi 10.3.2

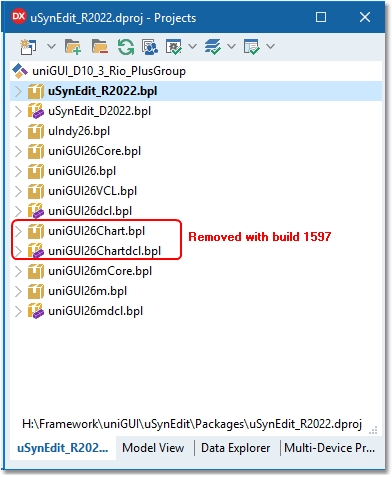
Now build all of the packages starting from SynEdit_Rxxxx.bpl. You can run the IDE Build All command for the whole project group.

Important: Do not select Clean All or Clean commands for any of the uniGUI packages. This will delete all pre-compiled DCU files from the DCU folder and you will have to install uniGUI again.

clip0178
8

Install design-time packages

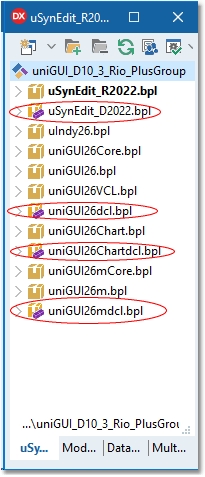
After building all packages, install the design-time packages by right-clicking and selecting Install in the following order:

  • SynEdit_D20xx.bpl

  • uniGUIxxdcl.bpl

  • uniGUIxxChartdcl.bpl (Starting from build 1597 this package is no longer available)

  • uniGUIxxmdcl.bpl (Plus/Complete Editions only)

clip0179

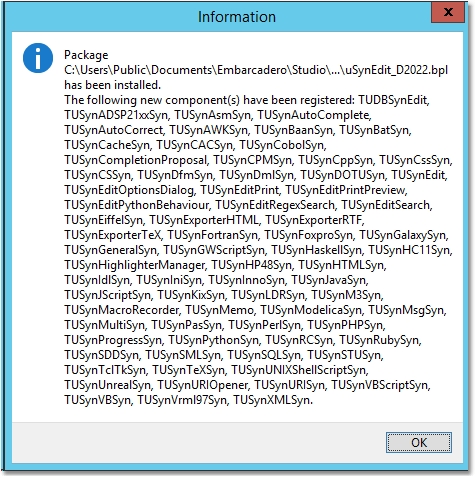
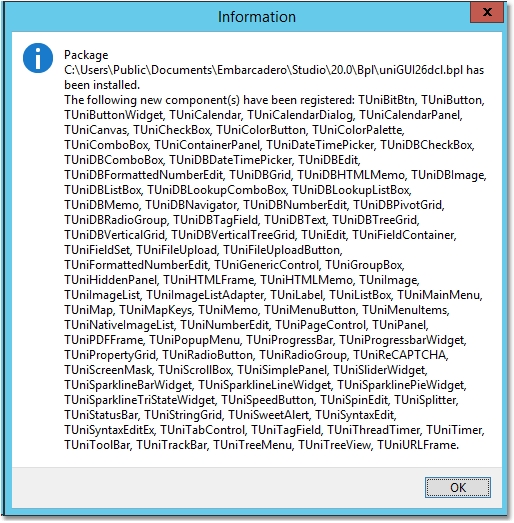
Several new components will be installed:

clip0035
clip0036
clip0037
Complete/Plus Edition only

Now the installation is completed. You can proceed to running demos or creating new uniGUI projects.

Additional Notes:

  • After starting a new C++ project, you must disable Linker -> Dynamic RTL.

  • New C++ projects are created without a resource (.RES) file. As a result, the project has no default Icon. This issue will be fixed in next releases.

  • Combo VCL/ISAPI projects are not supported for C++ Builder.

  • It is recommended to build your C++ Builder app without Run-Time Packages. You must statically link all libraries and create a single EXE. You can also use the default mode which uses run-time packages by default. If you want to build your application in this mode, then please read section Run-time Packages & C++ Builder: https://unigui.com/doc/online_help/runtime-packages--c-builder.htm