
Commercial Edition
Installation instructions for uniGUI
Before installing a new version please uninstall uniGUI from Windows Program Add/Remove.
After re-compiling an application with this new version you should install the related uniGUI Runtime Package which can be downloaded from the customer portal.
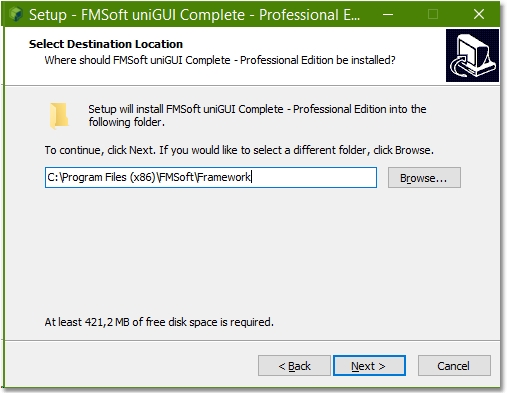
Download the installer
Please download the latest uniGUI Setup from the customer portal.
You will notice that there are two Setup versions:
FMSoft_uniGUI_{Edition_0.XX.0.YYYY}.exe This is the one which will be installed on developer PC for development purpose.
FMSoft_uniGUI_{Edition_runtime_0.XX.0.YYYY}.exe This one is only for deployment and will be installed on server computer hosting your uniGUI apps.
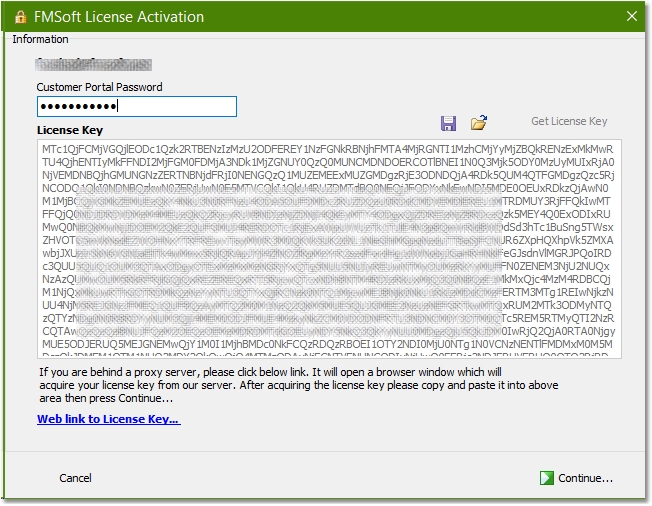
Obtain license key
Starting from version 0.99.95 the license keys are directly obtained from an activation server.
Enter your password and press the "Get License Key" button. This fills the License Key area with an appropriate key.
Alternatively click the blue link: "Web link to license key..." — this opens a browser window with a page containing your key which you can paste into the License Key area.
After the key is acquired, press Continue to proceed to the next step.
It is also possible to save your acquired license key in a local file and use it the next time you re-install the same edition and version of uniGUI.


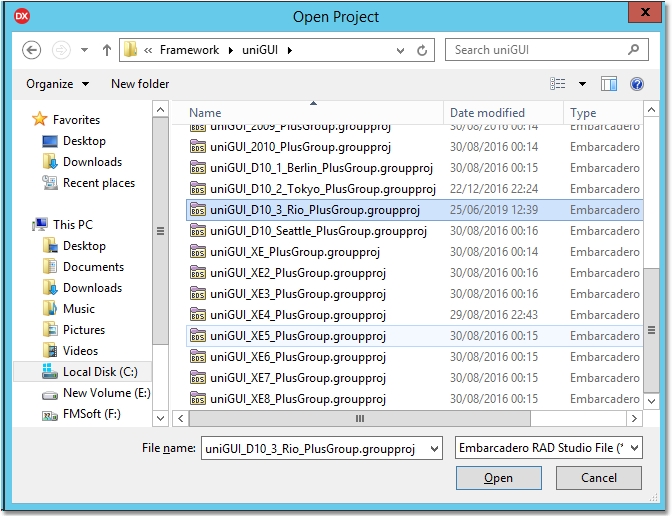
Build packages
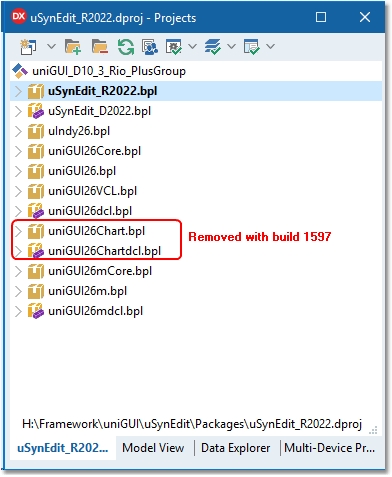
In Project Manager there are 11 Delphi packages. Build all packages starting from SynEdit_Rxxxx.bpl.
Important: Do not select Clean All or Clean commands for any of the uniGUI packages. This will delete all pre-compiled DCU files from the DCU folder and you will have to install uniGUI again.
You can run the IDE "Build All" command for the whole project group.
Install design-time packages
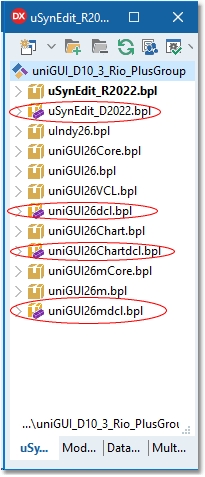
After building all packages, install the design-time packages by right-clicking and selecting Install in the following order:
SynEdit_D20xx.bpl
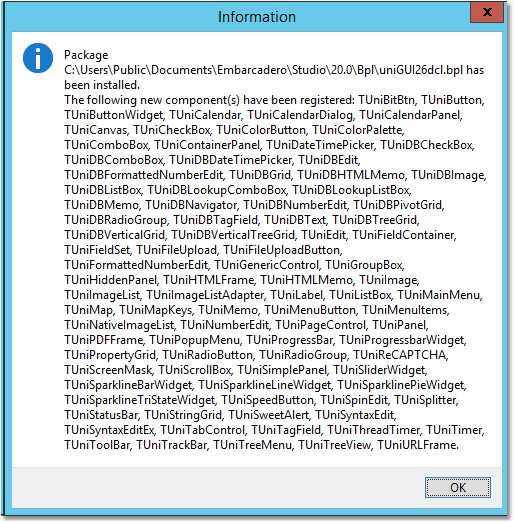
uniGUIxxdcl.bpl
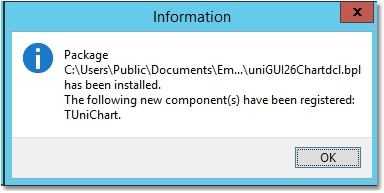
uniGUIxxChartdcl.bpl (Starting from build 1597 this package is no longer available)
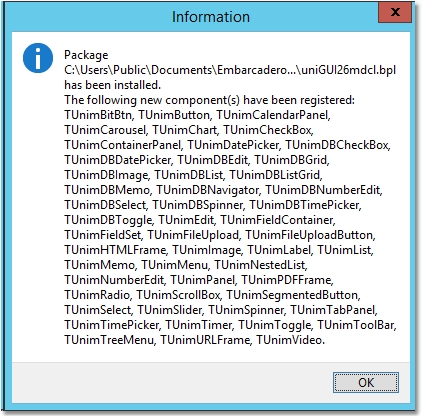
uniGUIxxmdcl.bpl (Plus/Complete Editions only)

Do not run Clean/Clean All on uniGUI packages — this will remove precompiled DCU files and you will need to reinstall uniGUI.